Saturday, November 27, 2010

How to make faux snow

I have lived in several different parts of the country during my life and no matter where I am there's one thing that always puts me in the Christmas mood - Snow!

So today I want to share with you a little secret on how to make your own faux snow to add to all of your altered projects this winter!

Supplies Needed:
~ White paint
~ Salt - Coarse salt works and looks best in my opinion so think Kosher Salt
~ Disposable paper plate
~ paint brush - any kind will do

Step 1: pour a good amount of salt on your plate.

Step 2: Add white paint and stir with your brush until it looks like mud (when it looks like mud it's perfect)


Step 3: Apply it to your altered project and allow it to dry!

Yes - it's that easy!

Here's my finished altered bird house with my added snow!


Now what are you waiting for - go make your own snow!

Tuesday, November 2, 2010

'Tis the season

Can you believe that the Christmas season is almost upon us again? It seems like time just keeps moving faster and faster - crazy.

We all get really busy during this time of the year and since I'm not perfect I sometimes forget someone on my "list" - not that I mean to but it just happens. So when Heidi challenged us this month to make something that we would give as a gift I added my own twist to it by adding "using things that can be found around my house". This way if you are anything like me and you need a gift in a pinch - here's an idea for you.

Using a recycled tin that use to hold chipboard I turned it into a hot chocolate gift set. Simply grab some cute GCD Studios Christmas papers, some embellishments, hot chocolate and marshmallows and you're set!

Here's my completed gift set:


Have a super day everyone!

Wednesday, October 6, 2010

Simple way to Distress and a Halloween project for you!

Hi Jen here with a really quick tip/trick for you when you are distressing your altered projects. First tip is to save those make-up sponges ladies! That’s right they can become your best friend when it comes time to distressing your altered art and it’s also a great way to re-purpose something that was going to hit the trash can.

All you need is an old make-up sponge and some distress ink (I used black). Simply tap your sponge into the ink and then rub lightly onto the edge of your project – it’s that simple! For those of you that like visuals – here’s some photos ;)


For the finishing touches I used the cricut Mini Monsters cartridge, some GCD Paper (backsides from various lines) some vinyl and googley eyes. Here's my completed project:


Monday, October 4, 2010

Happy Fall Y'all with GCD!

Are you all decorated for Fall yet? I plan on getting my Fall decorations up this weekend – I can’t wait! I love everything about Fall!

This month each design team gal at GCD was asked to create two tags – one for Halloween and one for fall. Halloween through Christmas is my favorite time of the year! Not only do I love the weather but I also love creating cute little gifts for friends and family.

Tags for me pull a gift together – so that’s the spin that I ran with for these two tags.

Here’s a gift idea for Halloween. Simply grab your favorite sparkling apple cider, cover it with some cute paper (I used several back sides from various GCD Lines), add some cob webs, a spider, ribbon and of course a tag and you have one pretty cute gift! I created this simple easy “BOO” tag using the Chipart tool – so many uses for this tool!


I created my fall tag using the Chipart tool as well. I also used my copic markers and some vinyl to complete the project. I have wanted to make one of these paper pumpkins forever – and this just seemed like the perfect way to tie in this tag.


Well if you weren’t already in a fall mood – I am sure you are now! So let me be the first to say “Happy Fall Y’all!”


Monday, September 6, 2010

Happy Labor Day Everyone!

If you landed on my blog today because of the GCD Blog Hop – welcome! If you are a regular reader of my blog – you need to check out the GCD Blog hop today! Not only will you see a lot of beautiful necklaces using the ChipArt tool and Melody Ross ChipArt necklaces but there are also 10 prizes up for grabs from GCD Studios! Woot!!! Sooo much fun!

I am having a hard time letting go of summer – so I was inspired to use a fun shade of yellow on my necklace. I then added texture to the chipboard using the GCD ChipArt tool! I love how this little tool can add so much texture and dimension to chipboard. To finish off my necklace I sprayed it with some tattered angels misting diamond misting spray and attached one of the sweetest little buttons from GCD.

Here’s my necklace:


If you would like to be entered into the drawings for the 10 prizes from GCD all you have to do is leave a comment on EACH of the designer's blogs today! Heidi (from GCD Studios) will be drawing out 10 winners from the comments left on the all the designer's blogs. Good luck!

Okay so the fun does not end here – you will want to hop on over to Diana's Blog to see her beautiful necklace! But before you leave make sure to leave me a comment so you will be entered into the drawing!

Have a super day everyone!


Monogram letters with the GCD ChipArt Tool

We’ve caught the Jewelry bug this month at GCD and why not?!? – I mean jewelry truly is a girl’s best friend! If you don’t believe me ask my daughter she will concur -jewelry truly is the best thing ever!

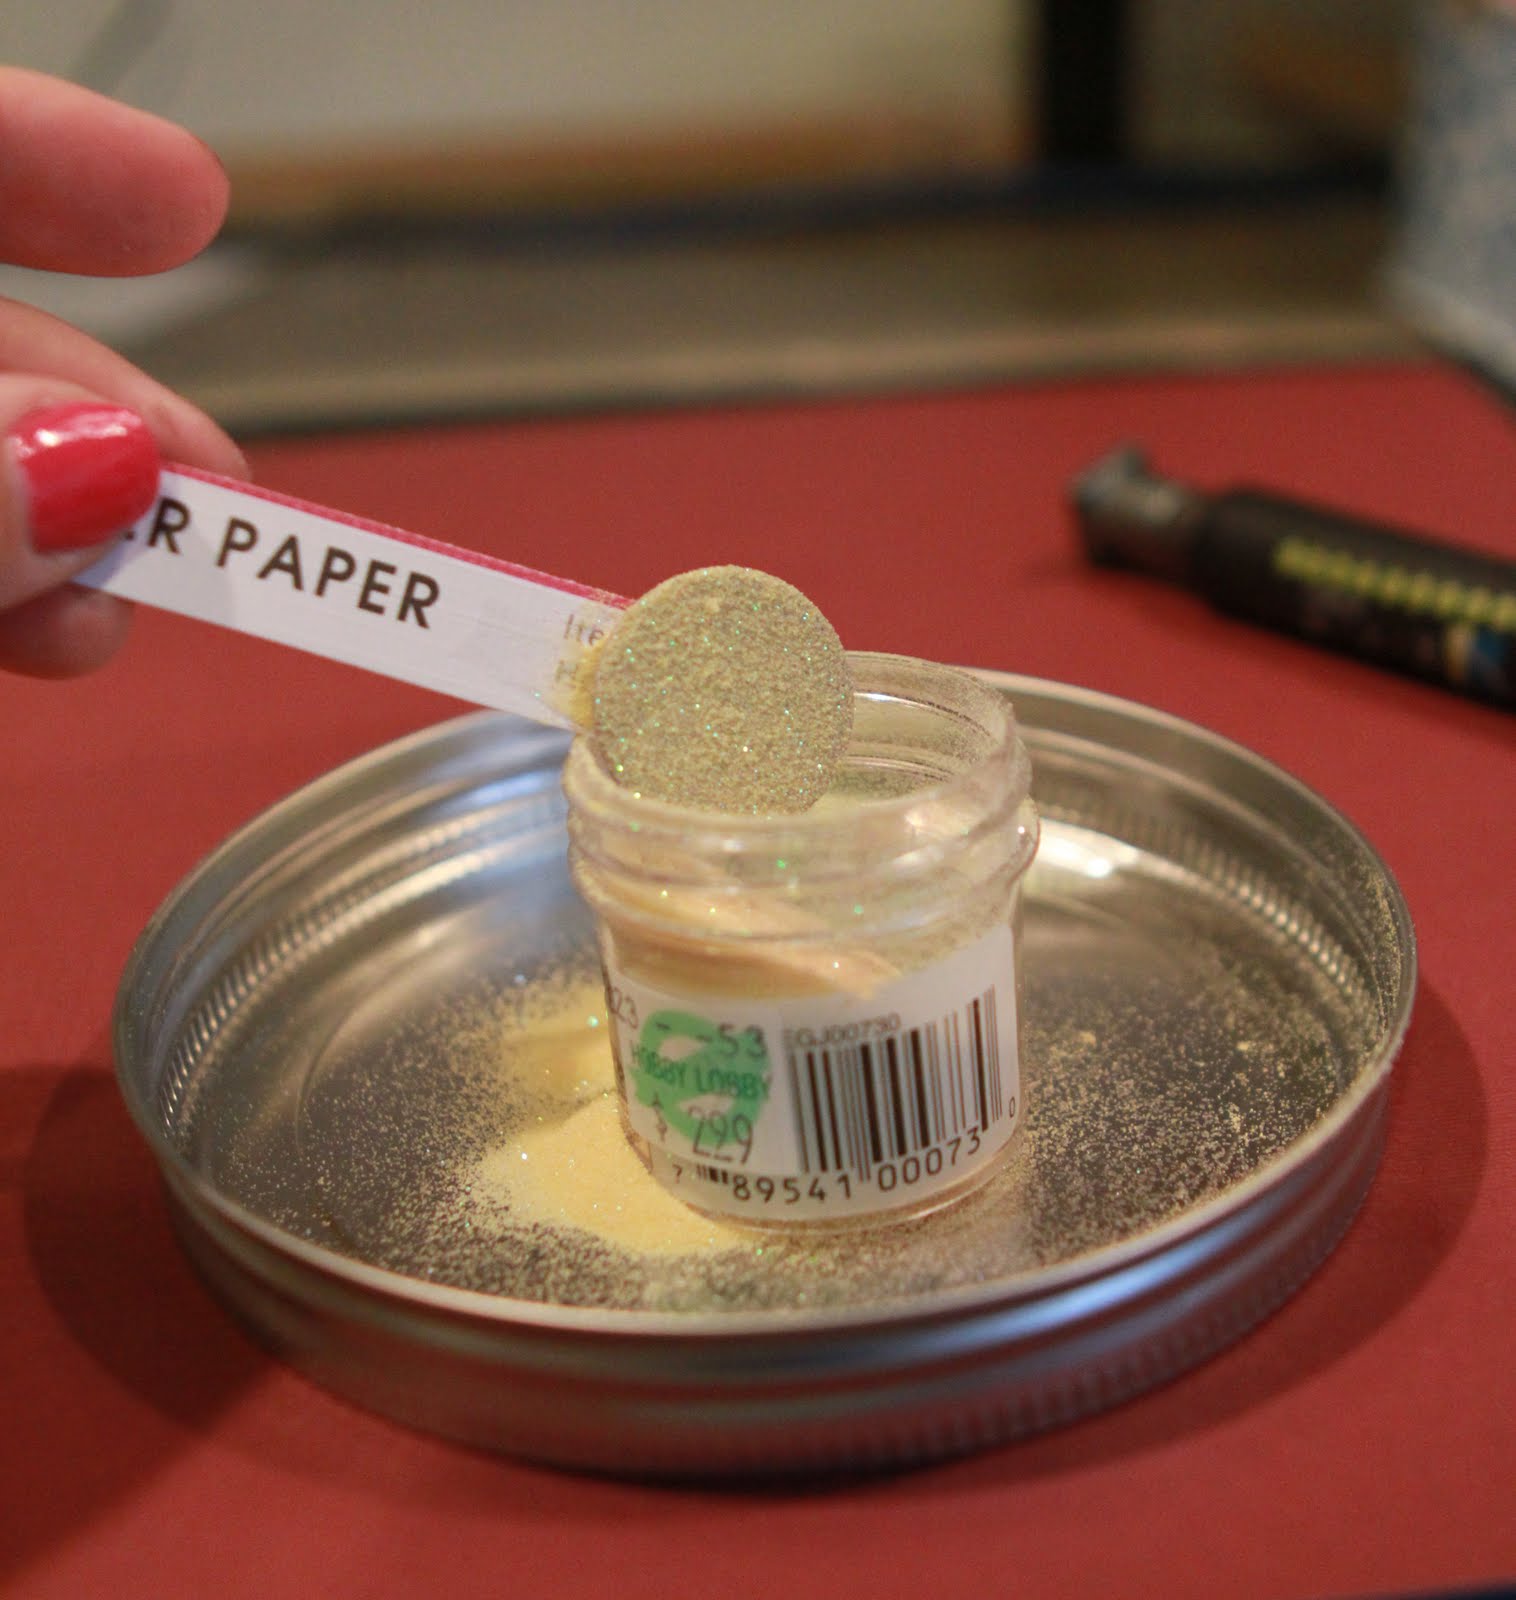
Well since my daughter thinks it is and she has an ever growing collection I decided to make her a little jewelry box this month to match her room. Her room is blue, pink and white with butterflies everywhere – so the homespun line was the perfect touch for this little jewelry box. However, before I show you my completed jewelry box I am going to show you a technique that you can do using your ChipArt tool, some embossing powder, versa mark ink pad and of course you heating gun.

I love monograms so I decided to make one using the ChipArt tool this month. If you haven’t already thought of this – here’s yet another great thing you can do with this tool!


Supplies Needed:

1. Versa Mark Ink Pad
2. ChipArt tool
3. Embossing Powder
4. Heating Gun
5. Chipboard (I attached mine to a scrap piece of paper so it would be easy to hold and I would not get burned.)


Step 1: Cover chipboard with versa mark ink.


Step 2: Cover chipboard in Embossing powder and heat until it melts (will look like metal)

Step 3: While it’s still hot quickly add another layer of embossing powder and heat – repeat this process 3 more times


Step 4: Now take the chipart tool and stamp it into the versa mark ink – set aside and cover the chipboard 1 last time in embossing powder and heat.

Step 5: While the embossing powder is still hot take the chipArt tool and place it into the center of the chipboard and press down lightly and wait until it cools to remove it and you will have a nicely monogrammed chipboard piece.

And here's my finished jewelry box with my little "A" monogram:


I hope this gets your head spinning about all the possibilities of this tool!

Have a super crafty day everyone!

Saturday, September 4, 2010

Who doesn't love Jewelry

This month we are going crazy with Jewelry at GCD! We were each challenge to create a piece that we would wear using our ChipArt tool! A few weeks ago I was at my local craft store and I came upon this little silver bracelet. The bracelet had open slots where you could add in beads but when I saw it I thought Chipboard! I knew it would work perfectly with the Chipart tool making something similar to an Italian charm bracelet.

I decided to use my damask chipart stamp, some chipboard, and some paint. I then used some glossy accents to finish it off.

After painting the chipboard black I stamped my damask stamp into white staz-on ink. I then stamped the image onto each piece of the chipboard to finish the look. After letting them dry I added each peice into my bracelet using some E6000 glue and sealed each piece using glossy accents.

Here's my bracelet:


I hope that you will give this a try! Have a super day everyone!